Thursday, September 26, 2013

House Interior, Fall 2013

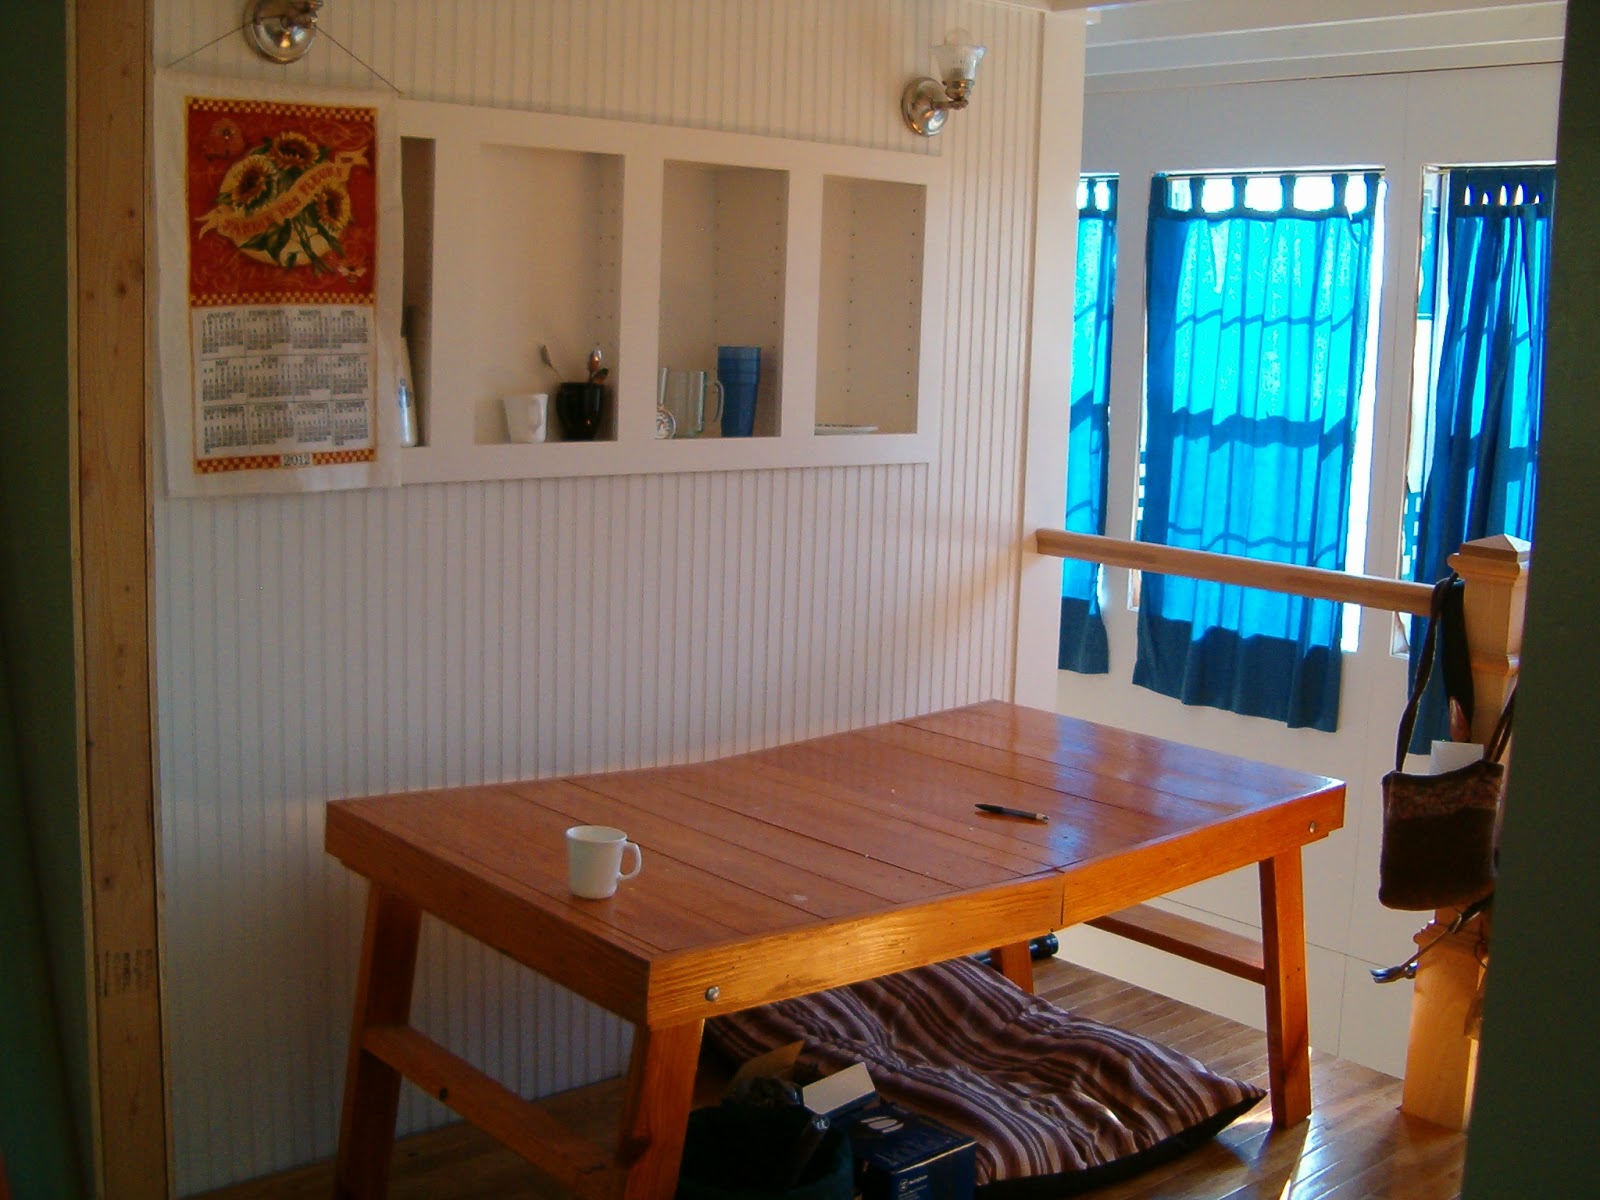
We have not been working on the house, and will not get back to it until early next year, but these pictures of what the house currently looks like.

Below, a picture of the stairs from the front door. There isn't much of an entry - it's almost immediately stairs. There is no railing, and the walls have not yet been trimmed out. The stairs are just the plywood base, no treads and risers yet. The windows and doors are not trimmed out yet, either.
Stair entry. The kitchen is at the top of the stairs.

Monday, July 15, 2013

Time Out: Bathroom Remodel

We started this year doing a complete remodel of a bathroom at Stephen's uncle's house. And I mean COMPLETE. Not only were the walls taken back to the studs, but damage to the floors required that Stephen replace part of the subfloor, and discoveries about the old plumbing required him to replace all of the existing plumbing in the room. He also had to make some changes to the electrical. However, all of the fixtures went into roughly the same places they came out of. The toilet was the only part of the original room that was saved.

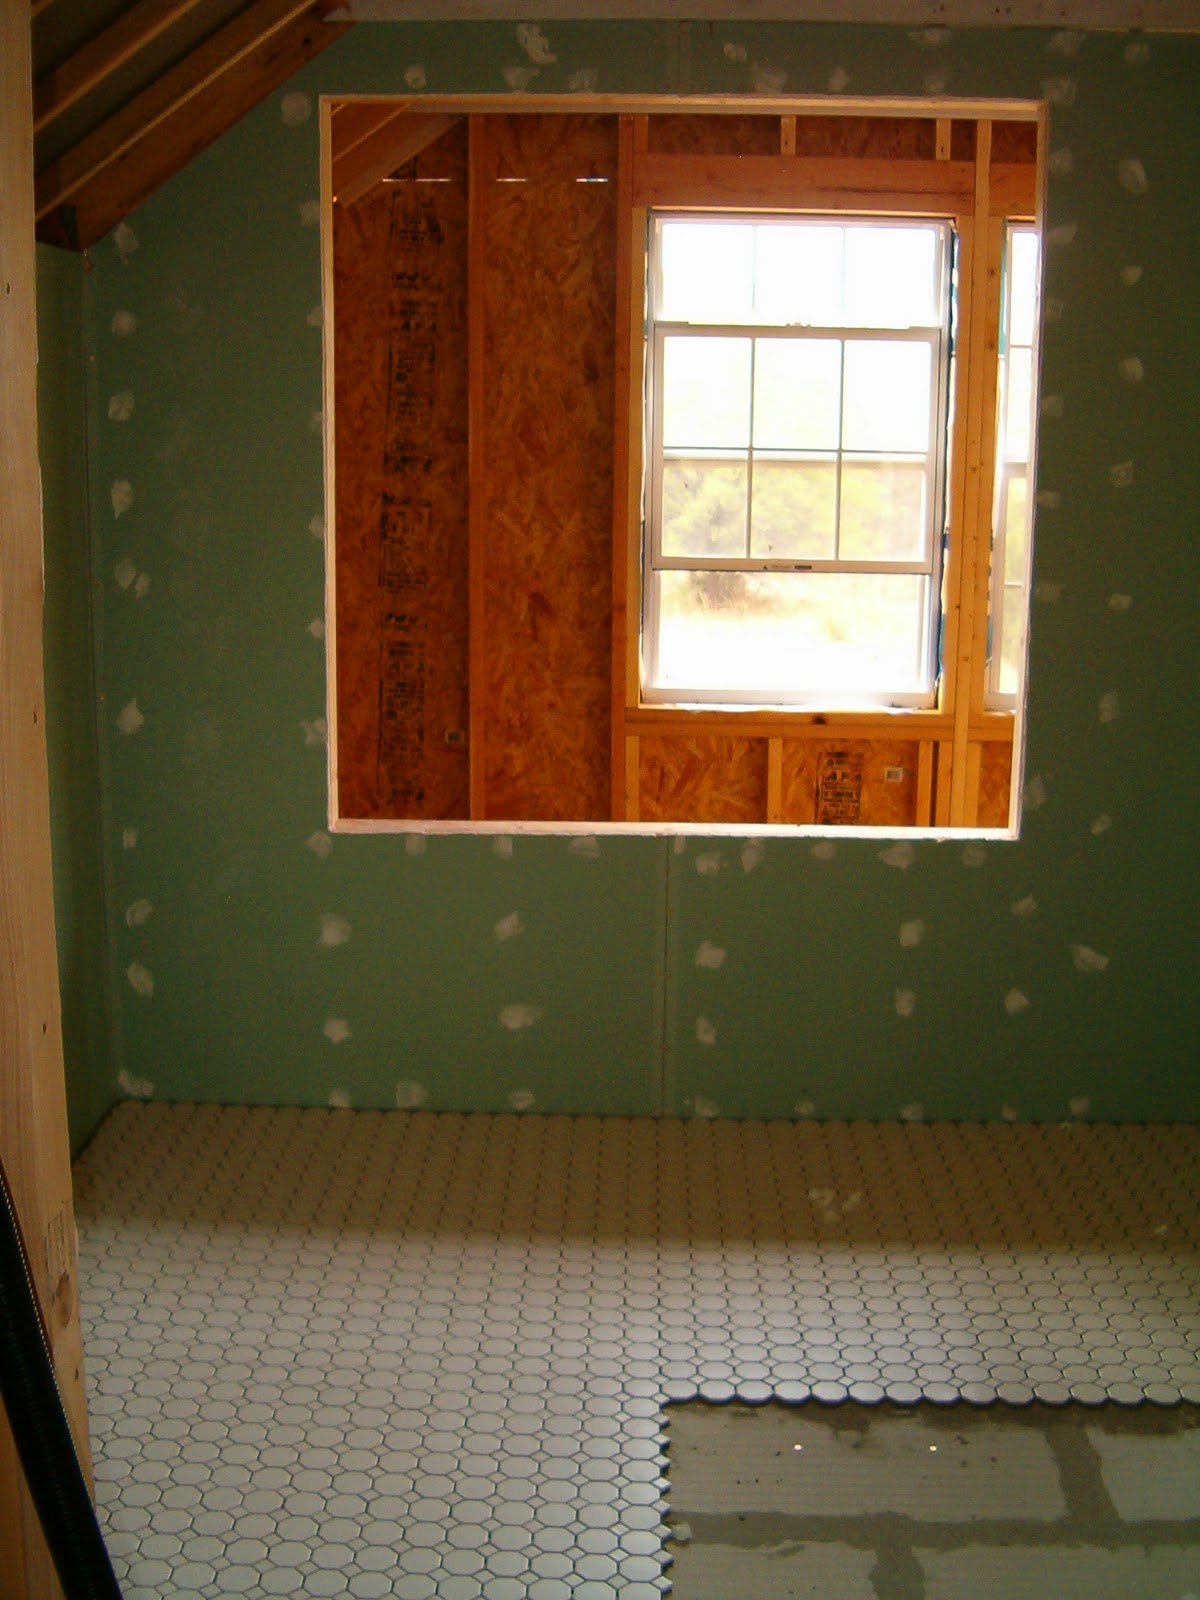
This picture shows the new wall and ceiling finish, the new light fixture, the window and the tile work.

Time Out: Kitchen Remodel

We've been taking the year off to do a remodel, and here are some pictures of the kitchen, which we just finished. It isn't officially part of the Owner Built project, but at least it shows what we've done with our time. Stephen moved a door frame and I assembled the cabinets before we started the remodel, which started with a complete tear-out of the existing kitchen on a Saturday, and the work was done the next Saturday, except the floor, which I did during the next week while the owners were at work during the day. Stephen took a week off from work to do the project.

Wednesday, January 30, 2013

Awesome Tools for the Ladies

I do not have a long history with tools, and largely find power tools to be a little frightening after some experience with table saw kickbacks and arc welding fiascos. That being said, I have a number of tools that I find particularly easy to use, and not at all frightening. They are:

Tuesday, November 20, 2012

November 20th, 2012

Stephen got in the stove on Thursday. One of the ovens needs a screw to shut all of the way, but otherwise, it's awesome. Everything works. Notice in the photo that I put the microwave under the washtub - I've had enough microwave for a long, long time.

Friday, November 16, 2012

3rd Week November, Wood Stove

I tiled the stove pad over vacation before we put in the wood floor. Then Stephen made some trim for around the tile a couple of weeks later. I cut the trim with the miter saw and installed it, then taped it up and grouted the marble tiles. Why doesn't a miter saw ever cut angles precisely? After I took off the tape and sanded, I carefully stained and polyurethaned the trim with a little brush.  Then I sealed the tiles and we moved the stove onto the pad. We had the stove pipe professionally installed last Thursday, and we used it on Tuesday.

3rd Week November, Kitchen

Sink wall, before

I thought I was going to get better about posting when we got back, but I haven't gotten back into the habit yet.

Monday, October 15, 2012

2nd Week of October, 2012

Fence on right and left

As the fence did not get finished either over the vacation or the weekend after, I stretched the last 1/3 of the welded wire myself. Used some straps and a come-along. Why is it that all outside tools are made for strong people with calloused hands? Then this weekend I made a picket gate and hung it all by myself. Amazing.

Monday, October 8, 2012

2012 Vacation

In three weeks of Stephen's vacation, we painted the interior of the apartment, put in oak floors, and started the dog fence. I usually do all of our painting, but we used a paint gun this time, and I don't know how to do that very well.

Wednesday, May 2, 2012

2012 Update


My last post was at the end of June, 2011. At the beginning of July, we put the house we were living in up for sale, and I sold it the next day. That's right. One day.

Sunday, June 5, 2011

Week 27: Vacation II


Stephen took another week of vacation, borrowing a Bobcat for the first weekend. The photo from week 25 is actually from this week, and shows some of the dirt he moved away from the front of the carriage house. He moved it to the front left of the carriage house, creating the pad for our house. From various areas around the house, he moved dirt that was leftover from the construction of the carriage house pad, and made a pile of topsoil well south of the carriage house for use in garden construction. We moved a HUGE pile of rocks from the house we currently live in - it took seven or so trips on a 16' trailer with the 3/4 ton pickup. He also used the Bobcat to smooth out parts of our drive, and used an auger bit on it to drill pier footings for our carport/well house. The carport side of the structure will hold the travel trailer.

Sunday, May 15, 2011

Week 26: Drywall

I worked on the drywall this week, putting on corner layers and then floating out the mud build-up from the corners. While I did this, I put a thin layer over most of the walls to make a sort of rough plaster finish. I didn't want a spray type of texture, I really wanted it to have a smooth look like plaster. I still need to do a final sanding before I prime and paint it, but it looks great.
I also primed the front of the front door because rain was expected this past Wednesday.

Week 25: Vacation!

Stephen got his vacation this week! We put in the last piece of drywall on the bathroom wall, built the stairs, finished the siding and exterior trim with a boom lift, and put in the well. We also built little concrete slabs for the well and the front door. Stephen put in a front door, as well. It is a nine-light all wood door, with some old, real wrought iron Arts and Crafts Colonial Revival hardware, with the help of his stepdad. At the same time, Stephen's mom and I did a layer of mud on the drywall tape and screws.

Monday, April 18, 2011

Week 24: Tile Disaster

This week, I tried to lay tiles over the places I had scraped up last week. I did not, however, scrape up the mortar QUITE all the way to the edges, and had several places where only one or two tiny tiles popped, so Stephen recommended that I just leave the mortar in those places. Unfortunately, that doesn't work. We both assumed that the new mortar would settle in between the old, dried mortar. Instead, the tiles stuck up over the other tiles because mortar doesn't settle. So, needless to say, it was a HUGE MESS. I had to scrape up the new, wet mortar, clean the wet mortar off of the tiles, and then scrape out ALL of the old mortar. I hadn't wanted to to get very close to the tiles that set properly, because all of the banging would cause the tiles nearby to pop, which happened. Oh yes, it happened.

By the end of the weekend, I got it all scraped, relaid the tiles, finished the grout, and cleaned everything well. It looks awesome! I also brought in the window and cleaned it well, and polished up the wood on the stained wood side. It still has a little bit of glazing that I haven't been able to get off - Stephen will help with it later. Stephen had to work all seven days last week (and he will again this week,) so no progress to report on the well quite yet.

Tuesday, April 5, 2011

Week 23: Bathroom Tile


I marked quadrants for tiling the bathroom, then put up/down drywall mesh tape on the drywall and tileboard. I mixed a little mortar and put it over the floor tape. I put green painters tape on the quadrant lines and cleaned the floor really well - I even brought over the vacuum. Mixed mortar with latex additive and stripped tags off the backs of the tiles while I waited for it to cure. Put mortar down Tuesday through Friday, with a huge "too-dry-mortar" disaster that ended in throwing away over a gallon of mortar on Wednesday. But that wasn't the end of it. When I grouted half of the floor on Saturday, I had to stop because most of the few tiles I put down on "too-dry mortar" day started popping off of the mortar. Had to scrape up the dry mortar on about five square feet of the floor on Sunday.

Week 22: Bathroom

Monday and Tuesday: This week, my parents were in town, and they helped me get tileboard in the bathroom. Stephen told us we didn't have to drill pilot holes, but my Dad and I both broke a screw tip each and decided to go ahead and drill pilots first.

Week 21: Bathroom

This weekend, Stephen had to reframe the window for the bathroom, because the old church window we bought turned out not to be the size reported by the guy we bought it from on Craigslist. It's actually about 5' x 5'. It takes up almost the whole wall. We put in drywall in the bathroom. Stephen finished out the electrical in the bathroom and hired to have the major electrical cable hooked up to the pole.

Monday, March 14, 2011

Week 20: Bathroom

This is a picture of the Great Room taken from the future kitchen.

We have decided to buy a vintage "canned ham" travel trailer and gut it to make a sleeper/lounge. This will allow us to partially move out of our house (or, more accurately, "the house we live in now") to be closer to the work. It will also stop us from freaking out if the house we live in now should sell before we are done with the shop apartment (which is likely.) With this goal in mind, we have shifted gears to finishing the bathroom first, as the travel trailer will have neither bathroom nor kitchen.

Week 19: Electrical

Stephen dug a trench with a "trencher" (practical if uninspired name.) It's like an enormous chainsaw. Then we put thick electrical cable in PVC pipe, fastened the sections of pipe together, and dropped it in the trench. Stephen attached an electrical box at the pole, and another in the shop, and attached the cable to it at both ends - we will have buried lines. Then we started putting in outlet boxes upstairs. We have not gotten them all in, but we got most of them. They don't have any actual outlets, switches or lights in them - they are being put in primarily to allow the installation of the insulation. The insulation covers up the wiring, so the electrical has to be done first.

Friday, February 18, 2011

Week 18: Siding


Between three snowstorms (two blizzards,) Three illnesses (including Type A Influenza,) and Stephen working at his job on weekends, not much has been done. The work completed could've been done in a productive weekend, so I'll compress it. We put up siding on the entire back of the house and most of the front. To reach over the garage hoods will require the boom lift. We bought a scissor-type tool to cut the cement board, and it's AWESOME.